Blog

  • How to Make the Best Marry Me Shrimp Pasta

    How to Make the Best Marry Me Shrimp Pasta

    Introduction

    There are recipes that capture hearts and taste buds instantly. Marry Me Shrimp Pasta is one of them.
    This dish is creamy, savory, and perfectly balanced with tender shrimp and rich sauce.
    It has a name that sparks curiosity and promises unforgettable flavor.
    Some say it is irresistible enough to win a proposal after just one bite.
    The truth is, it is more than a recipe. It is a story of comfort and romance.

    Shrimp and pasta have always been a match made in heaven.
    The sweetness of shrimp pairs beautifully with a velvety, garlicky cream sauce.
    Sun-dried tomatoes and Parmesan bring depth and richness to every forkful.
    Fresh herbs add brightness, while a touch of spice keeps things exciting.
    This is not just dinner. It is an experience meant to be shared.

    I have tested this recipe countless times to ensure perfection.
    The sauce clings lovingly to the pasta without overpowering it.
    The shrimp remain juicy and tender, never rubbery or bland.
    Every detail matters, from the heat of the pan to the final garnish.

    Marry Me Shrimp Pasta is more than food. It is a memory in the making.
    Cook it for someone you love, or even just for yourself.
    The magic lies in the layers of flavor and the joy it brings.
    It is quick enough for weeknights, yet impressive enough for celebrations.
    One bite and you will understand why this dish has earned its name.

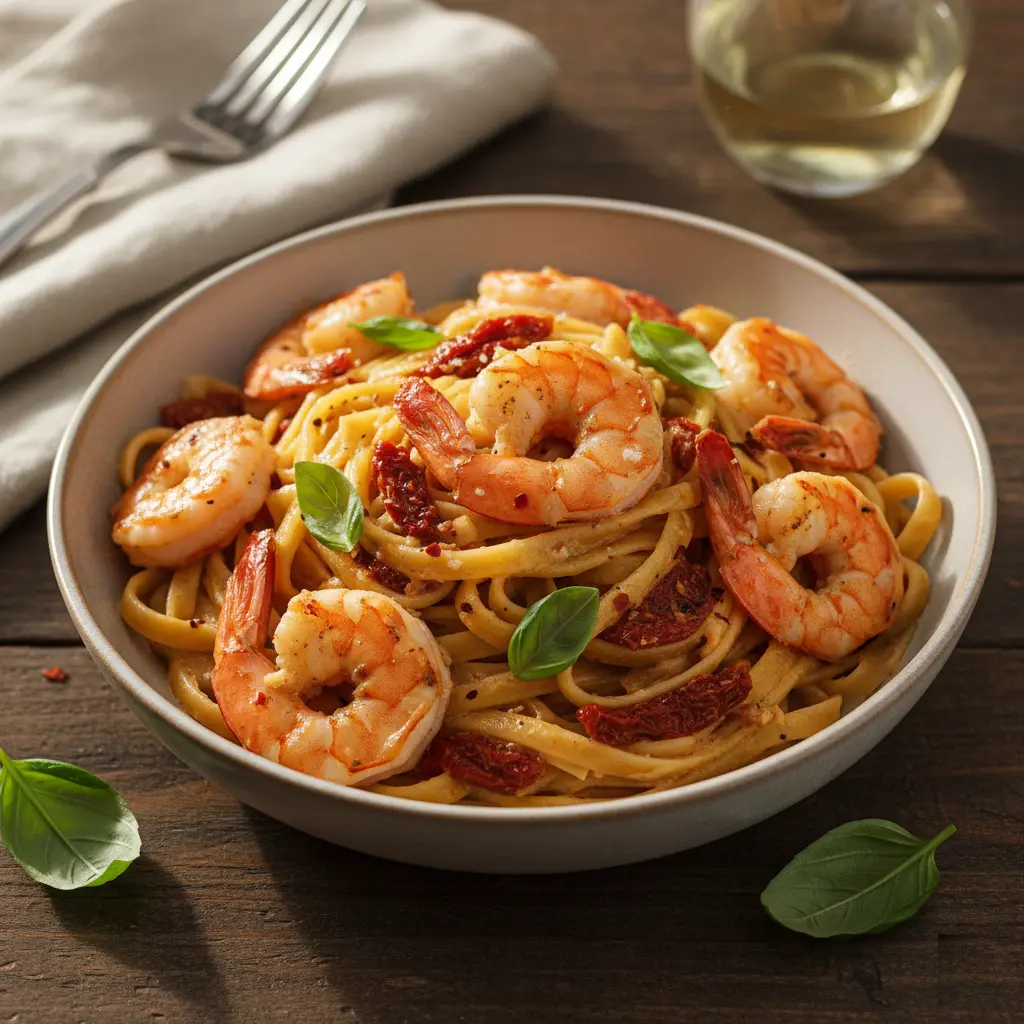
    Marry Me Shrimp Pasta ingredients

    Irresistible Marry Me Shrimp Pasta

    Recipe by Cindy
    0.0 from 0 votes
    Cuisine: Italian-AmericanDifficulty: Easy
    Servings

    4

    servings
    Prep time

    10

    minutes
    Cooking time

    20

    minutes

    Step-by-Step Marry Me Shrimp Pasta

    Ingredients

    • 12 oz fettuccine or pasta of choice

    • 1 lb large shrimp, peeled and deveined

    • 2 tbsp olive oil

    • 3 cloves garlic, minced

    • 1 tsp red pepper flakes

    • 1 cup chicken broth

    • 1 cup heavy cream

    • ½ cup sun-dried tomatoes, chopped

    • ¾ cup grated Parmesan cheese

    • 1 tsp Italian seasoning

    • Salt and black pepper, to taste

    • 2 tbsp fresh basil, chopped

    Directions

    • Cook pasta until al dente. Drain and set aside.
    • Heat olive oil in a large skillet. Add shrimp, season, and sauté until pink. Remove and set aside.
    • In the same skillet, sauté garlic and red pepper flakes until fragrant.
    • Stir in broth, cream, and sun-dried tomatoes. Simmer until slightly thickened.
    • Add Parmesan and Italian seasoning. Stir until creamy.
    • Return shrimp to skillet. Toss with sauce and cooked pasta.
    • Season with salt and pepper. Garnish with fresh basil before serving.
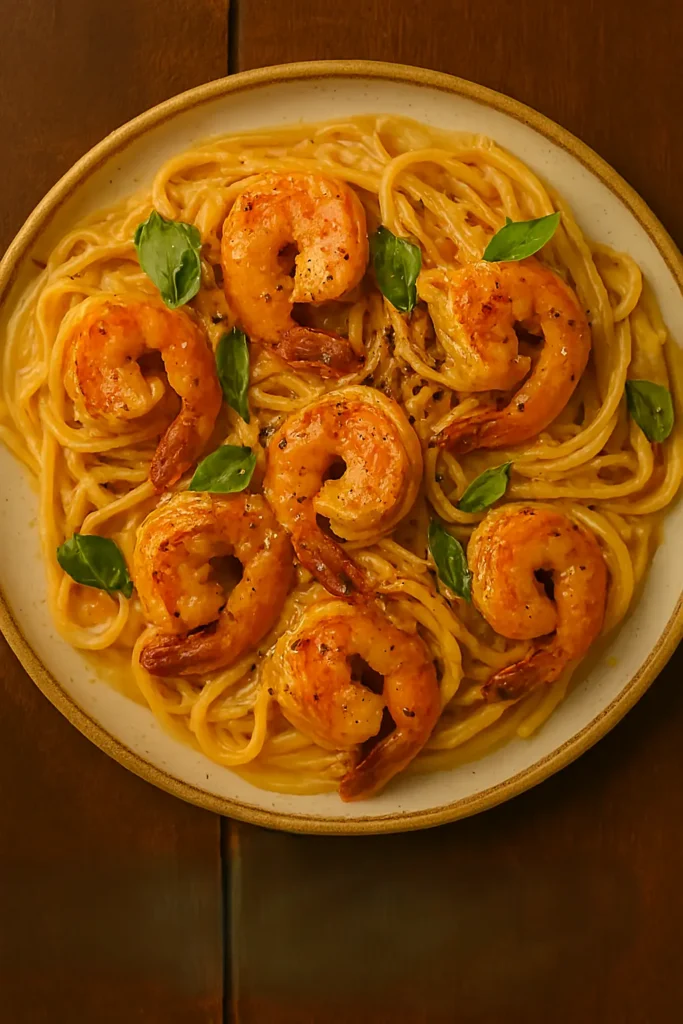
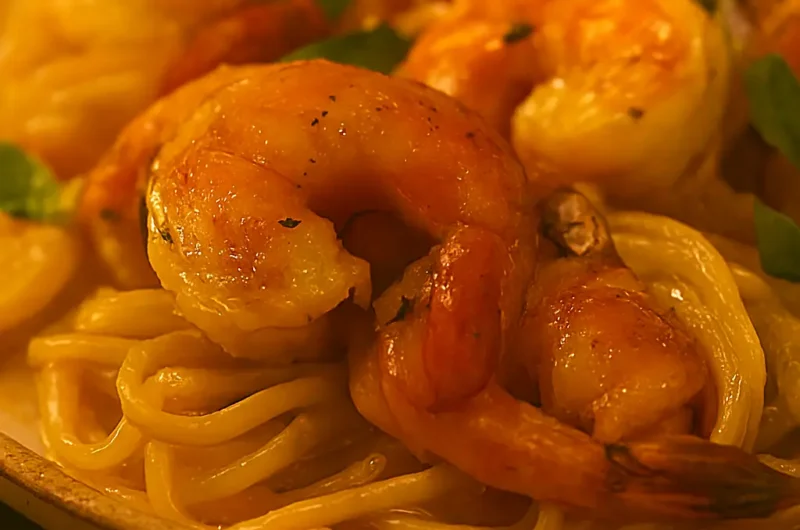
    Marry Me Shrimp Pasta dish

    💡 Tips for Success

    Always use fresh, good-quality shrimp for the best flavor.
    Do not overcook shrimp; they turn rubbery quickly.
    Reserve some pasta water to adjust the sauce’s thickness if needed.
    Let the sauce simmer gently for creaminess without splitting.
    Use freshly grated Parmesan for smoother melting.
    Taste and adjust seasoning before serving for perfect balance.

    ❓ Frequently Asked Questions

    1. Why is it called Marry Me Shrimp Pasta?
    The name comes from its irresistible flavors. Some say it is so delicious, it could inspire a marriage proposal.

    2. Can I use frozen shrimp?
    Yes, just thaw completely and pat dry before cooking to avoid excess water in the sauce.

    3. What pasta works best for this recipe?
    Fettuccine is classic, but linguine, penne, or spaghetti also pair beautifully with the creamy sauce.

    4. Can I make it ahead of time?
    It’s best served fresh, but you can cook the sauce in advance and reheat gently before adding pasta and shrimp.

    5. How do I keep the shrimp from turning rubbery?
    Cook them quickly over medium-high heat until pink. Overcooking is the main cause of rubbery shrimp.

    6. Can I substitute the cream?
    Yes, half-and-half works for a lighter version, though the sauce will be less rich and c

    🍷 Serving Suggestions for Marry Me Shrimp Pasta

    1. Wine Pairing
    This pasta pairs beautifully with a crisp white wine like Sauvignon Blanc or Pinot Grigio.
    If you prefer red, a light-bodied Pinot Noir complements the creamy sauce without overpowering it.

    2. Side Dishes
    Serve with a fresh green salad dressed in lemon vinaigrette to balance the richness.
    Garlic bread or warm baguette slices are perfect for soaking up the sauce.

    3. Vegetables
    Steamed asparagus, roasted zucchini, or sautéed spinach make excellent additions.
    They bring color and freshness to the plate.

    4. Special Occasion Twist
    For a romantic dinner, light candles and serve the pasta in shallow bowls.
    Garnish with extra basil and a sprinkle of Parmesan for a restaurant-quality touch.

    🥡 Storage and Reheating Tips

    1. Refrigeration
    Store leftovers in an airtight container in the refrigerator for up to 3 days.

    2. Freezing
    It’s best not to freeze this recipe, as the cream sauce can separate and change texture.

    3. Reheating on the Stovetop
    Reheat gently in a skillet over low heat. Add a splash of chicken broth or cream to loosen the sauce.

    4. Reheating in the Microwave
    Warm in short intervals, stirring between each, to prevent the shrimp from overcooking.

    5. Avoid Overheating
    Shrimp cook quickly. Overheating can make them rubbery, so reheat only until warmed through.

    Note: For more informations on nutrition, visit the website: nutrition.gov

  • Creamy Parmesan Chicken Strips

    Creamy Parmesan Chicken Strips

    Introduction

    There are meals that become instant family favorites, and creamy Parmesan chicken strips is one of them. Golden, crispy strips of chicken coated in Parmesan breadcrumbs, then baked to perfection, deliver irresistible crunch. The creamy base, paired with garlic and herbs, makes every bite satisfying. This dish is the perfect balance of comfort and elegance. It’s quick to prepare, full of flavor, and versatile enough for weeknights or casual gatherings.

    I still remember the first time I made these chicken strips for family dinner. The aroma of Parmesan and herbs filled the kitchen, drawing everyone in before they even saw the dish. My kids reached for seconds before I sat down at the table. That’s when I knew this recipe was something special.

    Over time, I’ve refined the method, using mayonnaise for extra tenderness, adjusting seasoning for depth, and adding lemon juice to brighten the flavors. Now, whenever I serve this dish, it always sparks smiles and conversation. Whether paired with pasta, tucked into wraps, or served solo with dipping sauces, these chicken strips never disappoint.

    This creamy Parmesan chicken strips recipe isn’t just about taste. It’s about creating a meal that feels indulgent without being complicated. If you want something that’s easy to make, kid-approved, and loaded with flavor, this recipe will become your new go-to.

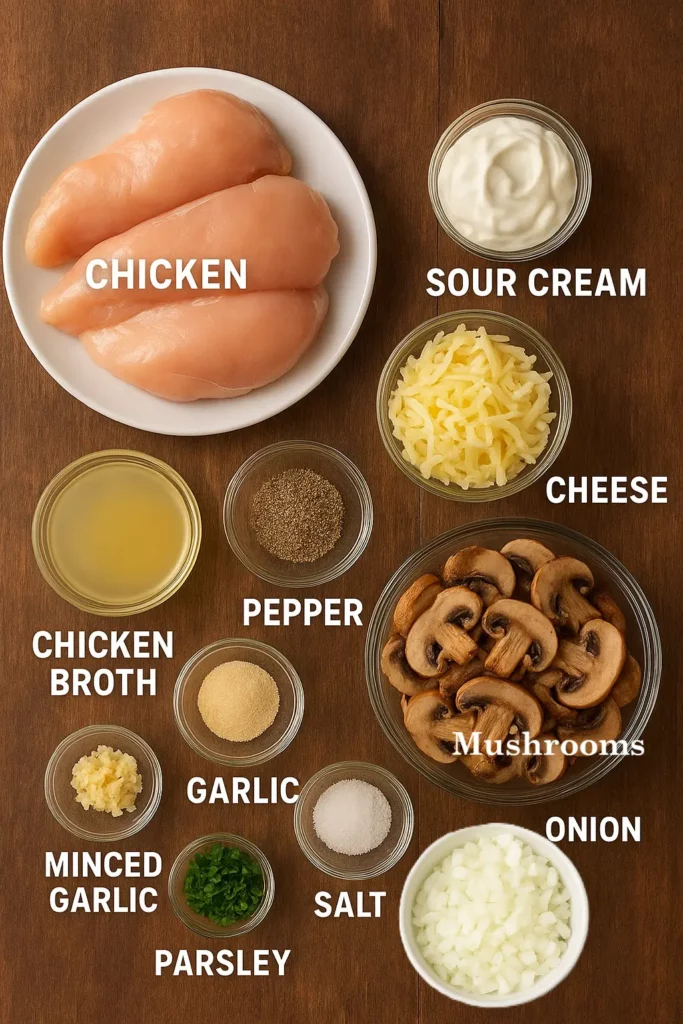
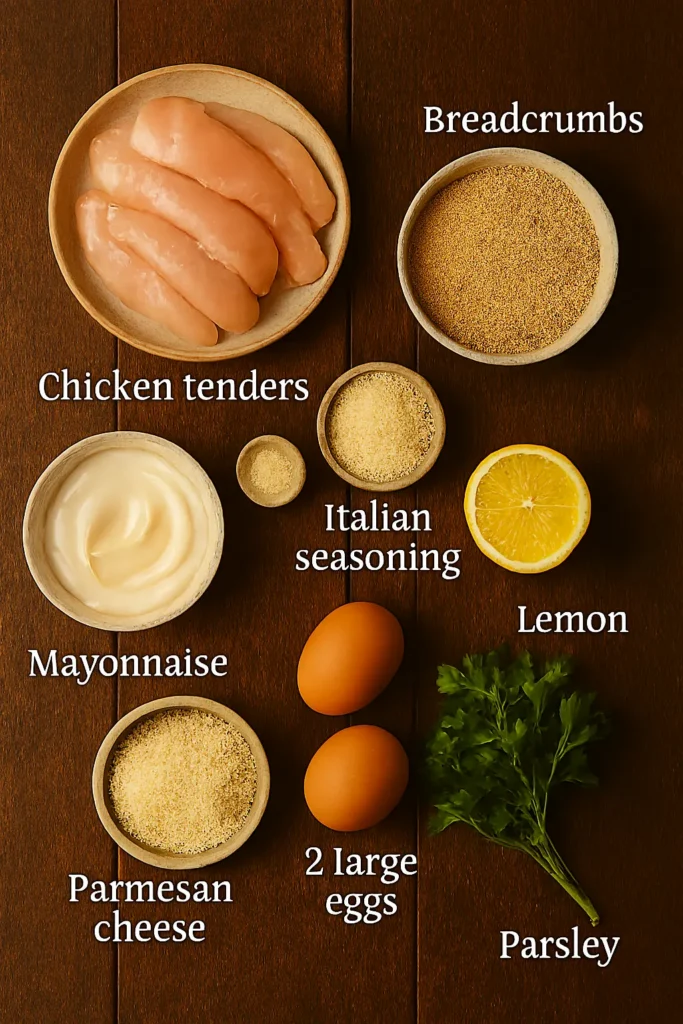
    Ingredients for creamy Parmesan chicken strips neatly labeled on wooden table

    Creamy Parmesan Chicken Strips

    Recipe by Cindy
    0.0 from 0 votes
    Difficulty: Easy
    Servings

    4

    servings
    Prep time

    15

    minutes
    Cooking time

    25

    minutes

    Ingredients

    • • 1 lb chicken tenders

    • • 1 cup breadcrumbs (panko or regular)

    • • ½ cup Parmesan cheese, freshly grated

    • • ½ cup mayonnaise

    • • 1 tsp garlic powder

    • • 1 tsp onion powder

    • • 1 tsp Italian seasoning

    • • ½ tsp salt

    • • ¼ tsp black pepper

    • • Juice of 1 lemon

    • • Fresh parsley for garnish

    Directions

    • Preheat oven to 400°F (200°C). Line baking sheet with parchment.
    • Mix breadcrumbs, Parmesan, garlic powder, onion powder, seasoning, salt, pepper.
    • Coat chicken in mayonnaise. Press into breadcrumb mixture.
    • Arrange strips on tray, drizzle with lemon juice.
    • Bake 20–25 minutes until golden.
    • Broil 2–3 minutes for crispiness.
    • Garnish with parsley. Serve hot.
    Creamy Parmesan chicken strips served on rustic tray with parsley garnish

    Pro Tips for Successing the Creamy Parmesan Chicken Strips

    • Choose the right chicken: Tenders or thin strips of breast work best for even cooking.
    • Fresh Parmesan makes a difference: Pre-grated cheese doesn’t melt the same way.
    • Don’t skip the mayo: It locks in moisture and helps the coating stick.
    • Bake on parchment paper: Prevents sticking and ensures crispy bottoms.
    • Let them rest a minute: This keeps juices inside and prevents soggy coating.

    Variations to Try

    • Add chili flakes to the breadcrumb mix for a spicy kick.
    • Swap mayonnaise with Greek yogurt for a lighter version.
    • Use gluten-free breadcrumbs if needed.
    • Air-fry at 375°F for 12–15 minutes for a healthier option.

    Serving Suggestions

    • Pair with garlic butter pasta or mashed potatoes.
    • Serve with marinara, ranch, or honey mustard for dipping.
    • Add to a salad or wrap for a filling lunch.

    FAQs

    Can I make them ahead? Yes, coat chicken and refrigerate up to 12 hours before baking.
    Can I freeze leftovers? Yes, bake, cool, then freeze. Reheat in oven for best crispiness.
    Can I substitute Parmesan? Pecorino Romano or Grana Padano also work well.

    Note: For more informations on nutrition, visit the website: nutrition.gov
  • Homemade Apple Cinnamon Bread Recipe You’ll Love

    Homemade Apple Cinnamon Bread Recipe You’ll Love

    Morning light streams through my kitchen window, warming the air with promise. Baking aromas swirl, tempting taste buds and stirring cozy memories. Imagine biting into moist bread infused with tart apple bits and fragrant cinnamon warmth. Every slice offers sweetness, spiced depth, and comforting textures that feel like fall in your hands. Apples, chopped fresh, soften in the batter, releasing juicy flavor at every forkful. Cinnamon weaves gentle heat across soft crumb, making this loaf irresistible. A crisp crust gives way to tender crumbs inside, perfect for breakfast toast or afternoon snack. Butter melting over warm slice turns simple food into indulgent treat. No fancy tools required, just basic pantry staples and a loaf pan. Even novice bakers will succeed Homemade apple cinnamon bread recipe, if ingredients are measured and oven heat steady. You’ll want to serve this bread warm, maybe with a drizzle of honey or simple glaze. It’s more than dessert, it’s moist loaf that comforts, nourishes, and delights. Homemade apple cinnamon bread fills your home with joy, rich scent, and flavor that lingers. Let baking bring you calm, sweetness, and that warm satisfaction only fresh bread provides.

    Apple Cinnamon Bread
    Apple Cinnamon Bread

    Homemade Apple Cinnamon Bread Recipe You’ll Love

    Recipe by Cindy
    0.0 from 0 votes
    Servings

    8

    slices
    Prep time

    15

    minutes
    Cooking time

    50

    minutes

    Ingredients

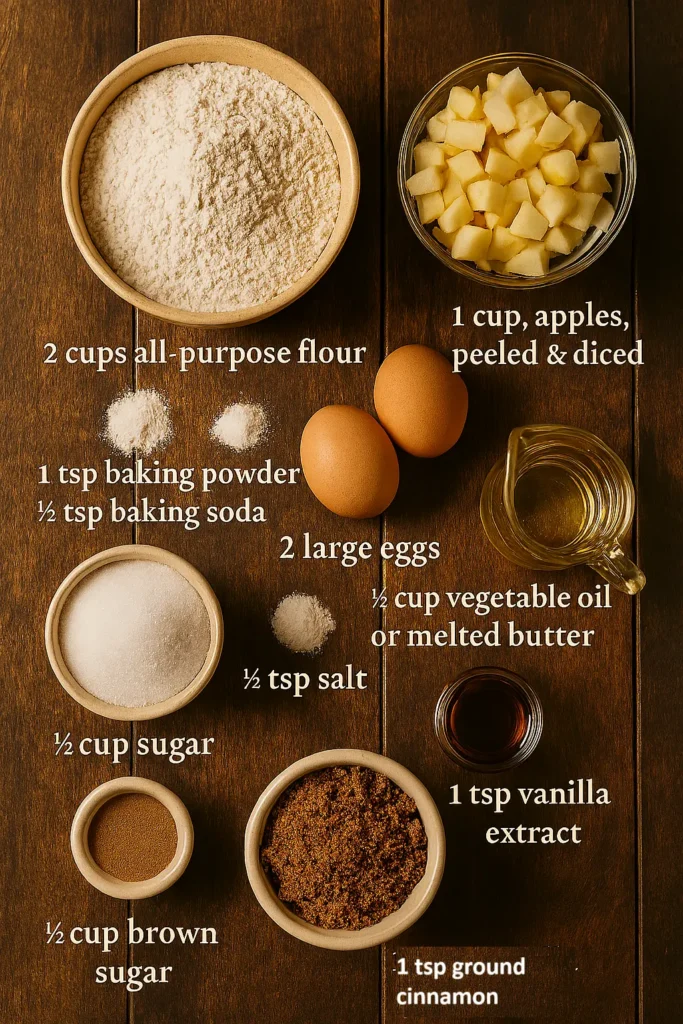
    • • 2 cups all-purpose flour

    • • 1 tsp baking powder

    • • ½ tsp baking soda

    • • 1 tsp ground cinnamon

    • • ½ tsp salt

    • • ½ cup sugar

    • • ½ cup brown sugar

    • • 2 large eggs

    • • ½ cup vegetable oil or melted butter

    • • 1 tsp vanilla extract

    • • 1 cup apples, peeled & diced

    Directions

    • Preheat oven to 175°C (350°F). Grease and flour a loaf pan.
    • In bowl, whisk flour, baking powder, baking soda, cinnamon, salt.
    • In larger bowl, beat eggs, sugar, brown sugar until smooth. Add oil and vanilla; mix well.
    • Fold in dry ingredients until just combined. Be careful not to overmix.
    • Gently fold in diced apples.
    • Pour batter into prepared loaf pan. Smooth top.
    • Bake for about 45-55 minutes or until a toothpick comes out clean.
    • Cool in pan 10 minutes. Then remove loaf and finish cooling on wire rack.
    Homemade Apple Cinnamon Bread

    Tips for Success

    • Pick firm apples like Honeycrisp or Granny Smith to prevent mushiness.
    • Cut apples into even pieces so they bake uniformly.
    • Mix dry and wet ingredients gently to keep the loaf tender.
    • Always preheat your oven for consistent baking results.
    • Test doneness with a toothpick—it should come out clean with moist crumbs.
    • Allow the loaf to cool before slicing so it holds shape.

    Note: For more informations on nutrition, visit the website: nutrition.gov

  • Texas Roadhouse Smothered Chicken Recipe

    Texas Roadhouse Smothered Chicken Recipe

    Texas Roadhouse Smothered Chicken Recipe – A Restaurant Classic at Home.
    The Texas Roadhouse Smothered Chicken recipe, is comfort food at its best. Juicy grilled chicken breasts meet creamy sauce and hearty toppings.
    This recipe transforms simple ingredients into a restaurant-quality meal right in your own kitchen. It’s flavorful, hearty, easy, and family-approved.
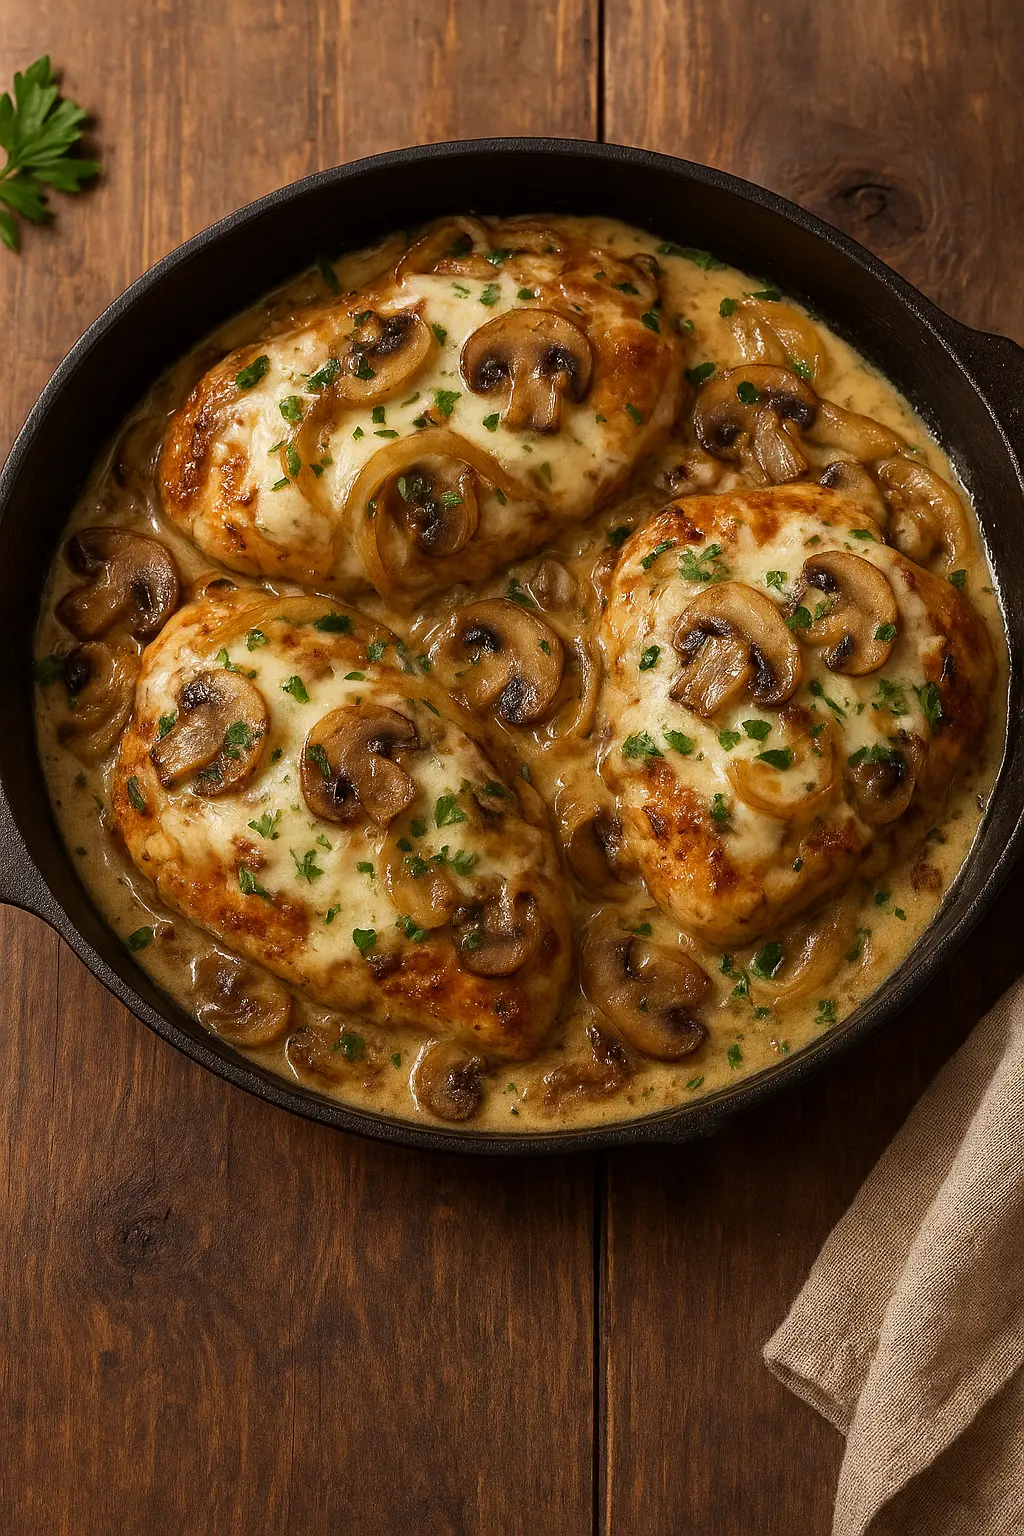
    Each chicken breast is seasoned perfectly, grilled until tender, and topped with melted cheese, mushrooms, and caramelized onions.
    The sauce adds a rich layer of creaminess, balancing the smoky, savory flavors of the grilled chicken. It’s irresistible and comforting.
    Making this dish at home is easier than you think. You only need a skillet, fresh ingredients, and 30 minutes.
    Smothered chicken is versatile. Pair it with mashed potatoes, rice, or steamed vegetables for a balanced and satisfying dinner.

    This dish is protein-packed, cheesy, and loaded with flavor. It’s hearty enough for weekend dinners yet simple enough for weeknights.
    If you love Texas Roadhouse flavors, this homemade version will quickly become a staple in your recipe rotation.
    Serve it straight from the skillet for a rustic feel. Garnish with parsley for color and freshness before serving.
    The best part? This recipe allows endless customization. Swap cheeses, add peppers, or increase garlic for a bolder flavor.
    Cooked properly, the chicken stays moist while the toppings create layers of flavor and texture in every bite.
    Family and friends will love this restaurant-style dish. It’s comfort food made easy, satisfying everyone around the table with bold flavors.
    Try this recipe once, and you’ll want it again. Smothered chicken is unforgettable and truly better homemade than dining out.

    Ingredients of Texas Roadhouse Smothered Chicken Recipe

    Texas Roadhouse Smothered Chicken

    Recipe by Cindy
    0.0 from 0 votes
    Servings

    4

    servings
    Prep time

    10

    minutes
    Cooking time

    20

    minutes

    Ingredients

    • 4 boneless chicken breasts

    • 1 tablespoon olive oil

    • 1 cup sliced mushrooms

    • 1 large onion, thinly sliced

    • 1 cup shredded mozzarella cheese

    • ½ cup chicken broth

    • 1 tablespoon butter

    • 2 garlic cloves, minced

    • Salt and pepper to taste

    • Fresh parsley for garnish

    Directions

    • Season chicken breasts with salt and pepper.
    • Heat olive oil in a skillet. Cook chicken until golden and fully cooked. Remove and set aside.
    • In the same skillet, sauté onions, garlic, and mushrooms until soft and caramelized.
    • Add chicken broth and butter. Let simmer to create a rich sauce.
    • Return chicken to skillet. Top with sautéed mushrooms, onions, and shredded cheese.
    • Cover skillet until cheese melts.
    • Garnish with parsley and serve warm.
    Best Texas Roadhouse Smothered Chicken for a Family Dinner
    Texas Roadhouse Smothered Chicken

    💡 Tips for Success

    – Use thin chicken breasts for faster cooking.
    – Caramelize onions slowly for sweetness.
    – Let cheese melt completely before serving. Don’t overcook chicken to keep it juicy.

    Note: For more informations on nutrition, visit the website: nutrition.gov

  • Quick and Easy Pizza Recipe – Ready in Minutes

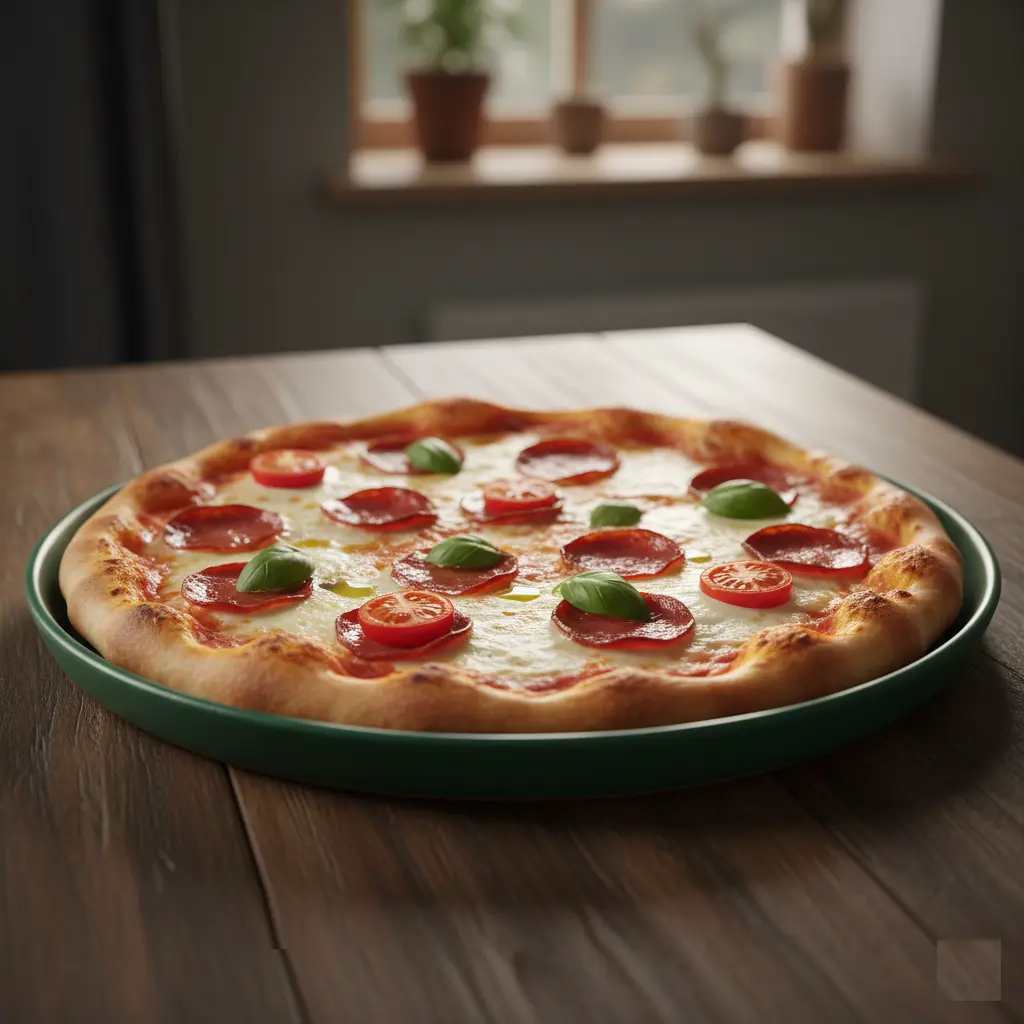
    Quick and Easy Pizza Recipe – Ready in Minutes

    Few things are as universally loved as pizza, and the best part is, you don’t need hours in the kitchen to make one. This Quick and Easy Pizza Recipe delivers all the comforting flavors you love in homemade pizza, without waiting or hassle.
    Perfect for busy weeknights, fun family snacks, or cheesy indulgence, this recipe guarantees big flavor in minimal cooking time.

    What makes this recipe so approachable is its use of simple ingredients you probably already have on hand, pita bread or flatbread serves as the crust, while a quick spread of tomato sauce, a sprinkle of cheese, and your favorite toppings make it totally customizable. From pepperoni and veggies to fresh herbs or a drizzle of olive oil, the variations are endless.

    Not only is this pizza fast and flexible, but it’s also healthier than many takeout versions. You control the toppings, the amount of cheese, and even the type of sauce, which means you can easily make it lighter or more indulgent depending on your mood. And the best part? It comes together in less than 20 minutes, making it perfect for last-minute cravings.

    So next time you’re tempted to pick up the phone and order delivery, try this Quick and Easy Pizza Recipe instead. It’s fast, flavorful, and guaranteed to satisfy your pizza cravings while saving you time and money. Once you try it, you’ll see why this homemade version deserves a permanent spot in your recipe rotation.

    Quick and Easy Pizza – Simple, Delicious, and Fast

    Recipe by Cindy
    0.0 from 0 votes
    Servings

    4

    servings
    Prep time

    10

    minutes
    Cooking time

    10

    minutes

    Ingredients

    • 4 pita breads or flatbreads (as pizza crust)

    • 1 cup pizza sauce or marinara sauce

    • 2 cups shredded mozzarella cheese

    • ½ cup sliced pepperoni (optional)

    • ½ cup sliced bell peppers

    • ¼ cup sliced black olives

    • 1 tsp dried oregano

    • Fresh basil leaves, for garnish

    Directions

    • Preheat oven to 400°F (200°C). Line a baking sheet with parchment paper.
    • Prepare crusts: Place pita or flatbreads on the baking sheet.
    • Spread sauce: Evenly spoon pizza sauce over each crust.
    • Add toppings: Sprinkle with mozzarella, then layer with pepperoni, bell peppers, and olives.
    • Season: Sprinkle oregano on top for extra flavor.
    • Bake for 8–10 minutes, or until cheese is melted and bubbly.
    • Serve hot: Garnish with fresh basil and enjoy your quick and easy homemade pizza.

    💡 Tips for Success

    • Use whole wheat or gluten-free flatbread for a healthier option.
    • Preheat a pizza stone if you prefer a crispier crust.
    • Mix up toppings—try mushrooms, spinach, or grilled chicken for variety.
    • Don’t overload with toppings to avoid a soggy pizza.


      Note: For more informations on nutrition, visit the website: nutrition.gov

  • Asian Lettuce Wraps Recipe – Fresh, Healthy, and Flavorful

    Asian Lettuce Wraps Recipe – Fresh, Healthy, and Flavorful

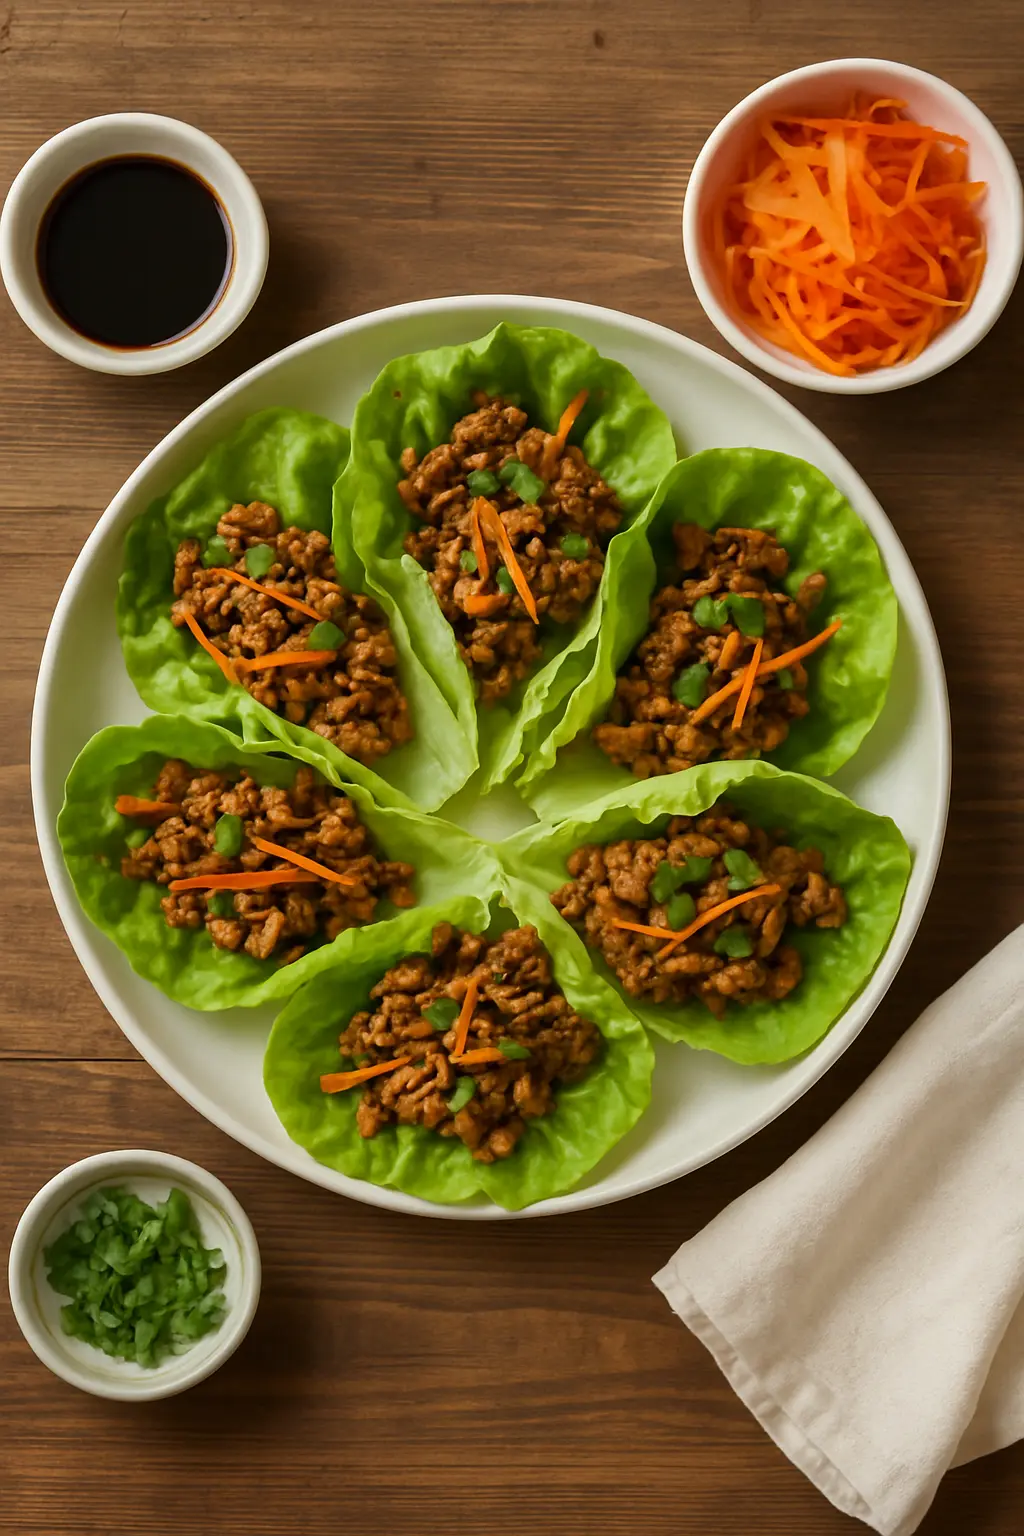
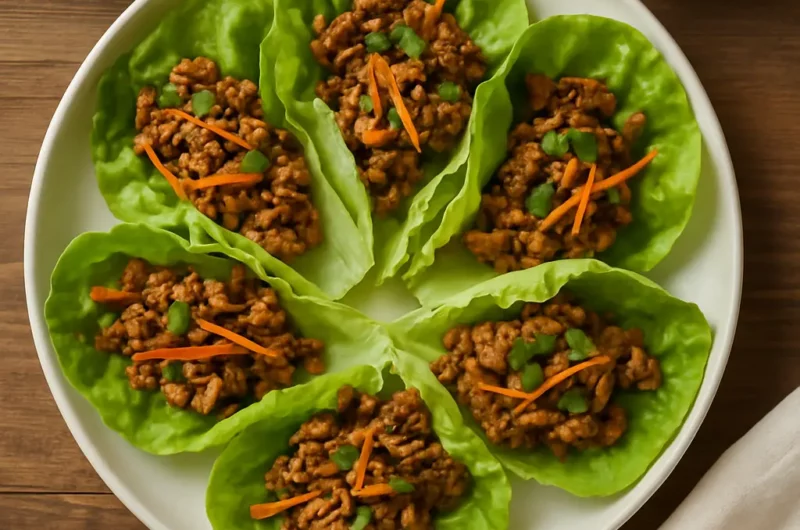
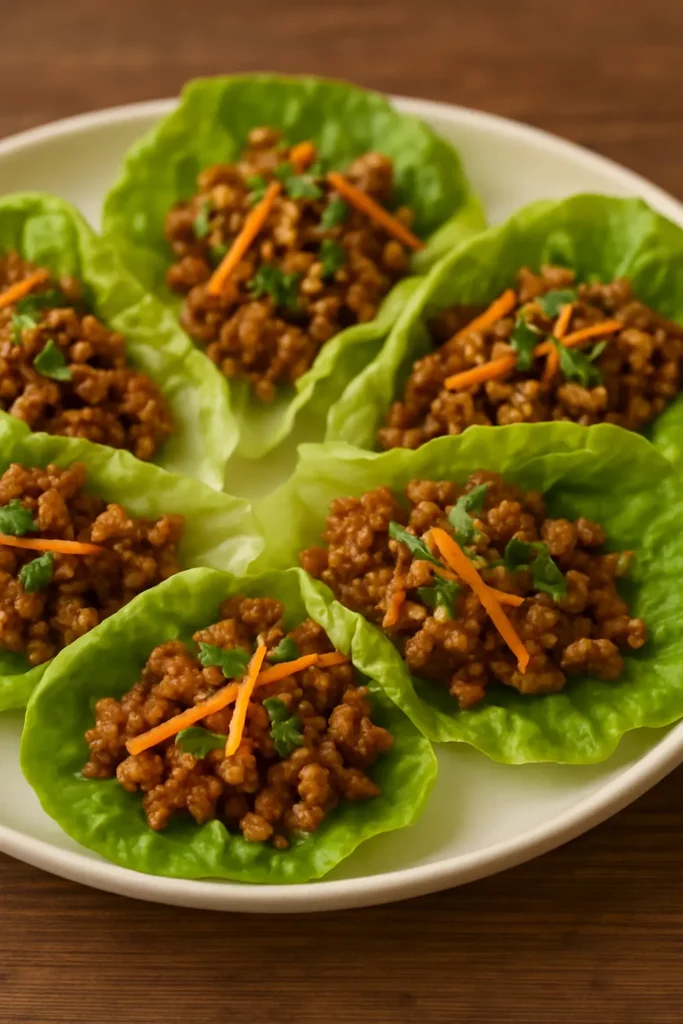
    When it comes to fresh, flavorful, and healthy meals, few dishes can compete with Asian lettuce wraps recipe. Light yet satisfying, these wraps pack a punch of savory goodness with every bite. Imagine crisp, cool lettuce leaves cradling a flavorful filling of seasoned ground chicken, garlic, ginger, and soy sauce, all tied together with hints of sweetness and spice. It’s the perfect combination of textures: crunchy lettuce, tender chicken, and a deliciously sticky-sweet sauce.

    One of the best things about this Asian lettuce wraps recipe is how versatile it is. Whether you’re hosting a casual dinner with friends, preparing a quick weeknight meal, or looking for a lighter option that doesn’t sacrifice flavor, these wraps fit the bill. They’re not only fun to eat but also customizable, use chicken, turkey, pork, or even tofu as your protein base. Top them off with crunchy carrots, water chestnuts, or fresh herbs like cilantro for a restaurant-quality experience right at home.

    What makes these wraps especially appealing is that they’re naturally low-carb and gluten-free when made with tamari or coconut aminos instead of soy sauce. That means you can indulge without the guilt while still enjoying a meal that feels hearty and comforting.

    And let’s not forget the social aspect, Asian lettuce wraps are interactive! Everyone at the table can build their own wrap, making mealtime more engaging and fun. With minimal prep time and bold, satisfying flavors, this recipe is bound to become one of your go-to favorites for fresh, quick, and healthy dining.

    Bring a touch of Asian-inspired flavor to your table tonight and experience why these lettuce wraps are loved around the world.

    Healthy Asian Lettuce Wraps with Chicken or Turkey

    Recipe by Cindy
    0.0 from 0 votes
    Servings

    4

    servings
    Prep time

    15

    minutes
    Cooking time

    15

    minutes

    Ingredients

    • 1 lb ground chicken or turkey

    • 1 tablespoon sesame oil

    • 2 garlic cloves, minced

    • 1 tablespoon fresh ginger, grated

    • 1 medium onion, finely diced

    • 1 (8 oz) can water chestnuts, drained and chopped

    • ¼ cup hoisin sauce

    • 2 tablespoons soy sauce (or tamari for gluten-free)

    • 1 tablespoon rice vinegar

    • 1 teaspoon sriracha (optional, for spice)

    • 1 head butter lettuce or iceberg lettuce, leaves separated

    • Fresh cilantro, shredded carrots, or green onions for garnish

    Directions

    • Start with the flavors: Heat sesame oil in a large skillet over medium heat. Add the garlic, ginger, and onion, and cook until fragrant and slightly golden, about 2 minutes.
    • Cook the protein: Add the ground chicken (or turkey) to the skillet. Break it apart with a wooden spoon and cook until fully browned, about 5–7 minutes.
    • Mix in flavors: Stir in the water chestnuts, hoisin sauce, soy sauce, rice vinegar, and sriracha (if using). Let everything simmer together for 2–3 minutes so the flavors blend and the sauce slightly thickens.
    • Prepare the lettuce: While the filling cooks, gently separate and rinse the lettuce leaves. Pat them dry with a clean kitchen towel to keep them crisp.
    • Assemble the wraps: Spoon the hot filling into the center of each lettuce leaf. Fold the sides over slightly, taco-style.
    • Garnish & enjoy: Sprinkle with cilantro, green onions, or shredded carrots for extra crunch and color. Serve immediately while warm.
    Easy Asian Lettuce Wraps

    💡 Tips for Success

    • Choose sturdy lettuce. Butter lettuce and iceberg hold fillings best without tearing.
    • Drain excess liquid. If the mixture is too wet, it can make the wraps soggy.
    • Prep ingredients ahead. Chop vegetables and wash lettuce in advance for faster assembly.
    • Make it your own. Swap proteins or add extras like mushrooms, peanuts, or bean sprouts.


      Note: For more informations on nutrition, visit the website: nutrition.gov
  • Homemade Alfredo Pasta Recipe – Creamy & Cheesy Classic

    Homemade Alfredo Pasta Recipe – Creamy & Cheesy Classic

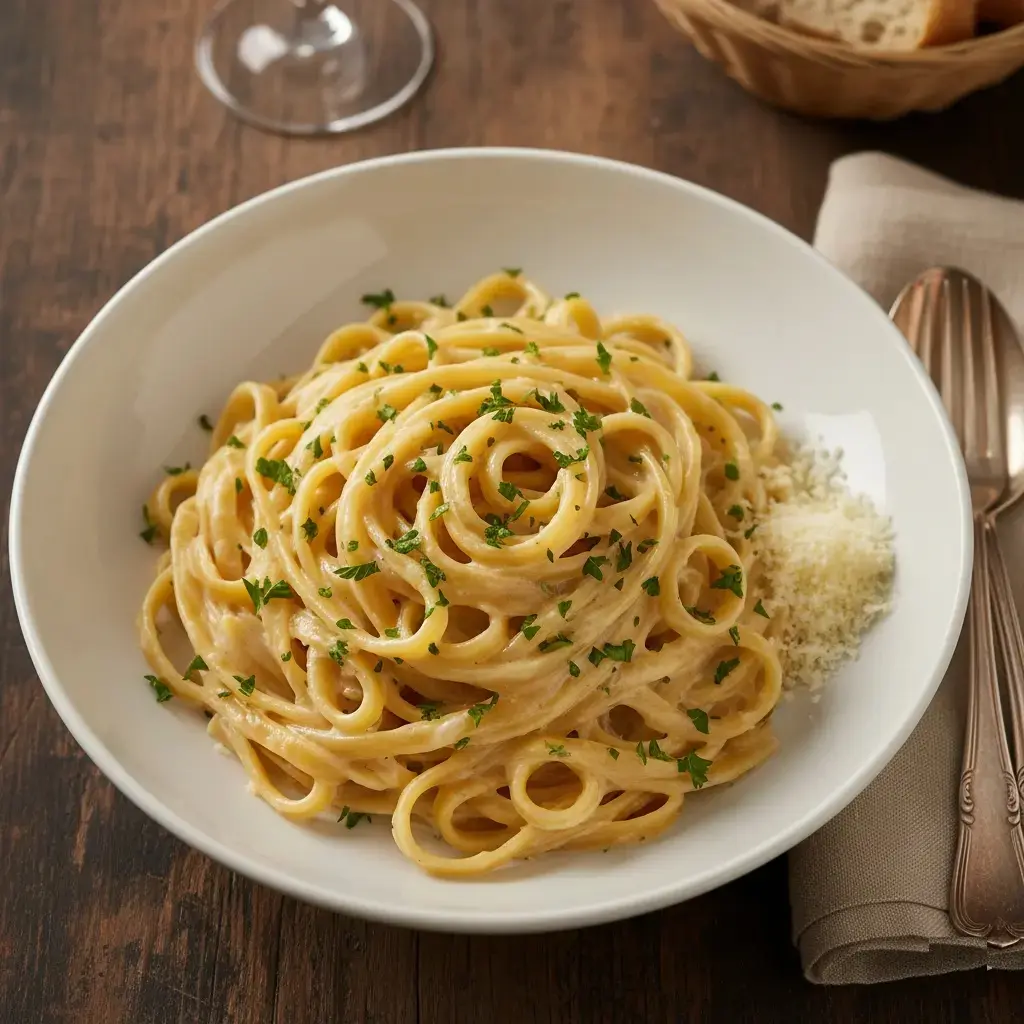
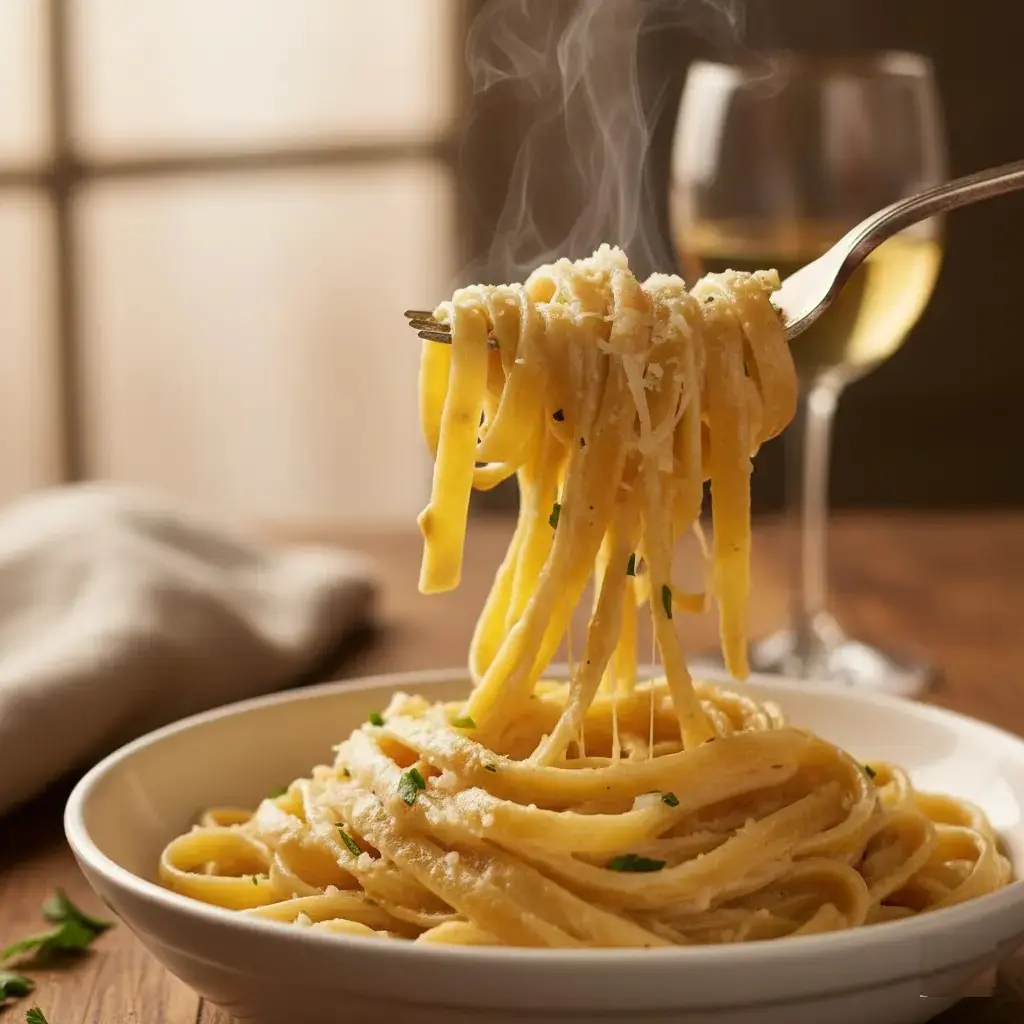
    When it comes to comfort food, few dishes can compete with the creamy, dreamy indulgence of homemade Alfredo pasta. There’s just something so satisfying about twirling strands of fettuccine coated in a luscious, velvety sauce made from simple, everyday ingredients. Forget the jarred versions from the store, this recipe brings you the rich, authentic flavors of an Italian-inspired classic right to your kitchen in under 30 minutes.

    The magic of Alfredo lies in its simplicity. With just butter, cream, Parmesan cheese, and garlic, you create a sauce that’s smooth, cheesy, and full of flavor. Tossed with perfectly cooked pasta, it becomes the ultimate weeknight dinner, elegant date-night dish, or crowd-pleasing meal for family gatherings. The best part? You don’t need to be a chef to make it. This homemade Alfredo pasta recipe is quick, foolproof, and infinitely better than anything you’d order at a restaurant.

    But don’t let its simplicity fool you, this dish is endlessly versatile. Add grilled chicken or shrimp for extra protein, toss in roasted vegetables for a colorful twist, or spice it up with a pinch of red pepper flakes. No matter how you serve it, Alfredo pasta is always a winning combination of creamy, cheesy comfort that makes everyone at the table happy.

    With its rich texture, golden butter notes, and savory Parmesan finish, this pasta is proof that the best meals often come from the simplest recipes. One bite of this creamy Alfredo pasta, and you’ll understand why it’s a timeless favorite around the world.

    How to Make Authentic Alfredo Sauce at Home

    Recipe by Cindy
    0.0 from 0 votes
    Servings

    4

    servings
    Prep time

    5

    minutes
    Cooking time

    20

    minutes

    Ingredients

    • 12 oz fettuccine pasta

    • ½ cup (1 stick) unsalted butter

    • 1 cup heavy cream

    • 2 garlic cloves, minced

    • 1 ½ cups freshly grated Parmesan cheese

    • ½ teaspoon salt (or to taste)

    • ¼ teaspoon black pepper

    • Fresh parsley, chopped (for garnish)

    Directions

    • Cook pasta. Boil a large pot of salted water and cook fettuccine according to package directions until al dente. Drain and set aside.
    • Melt butter. In a large skillet over medium heat, melt the butter until bubbling.
    • Add garlic. Stir in minced garlic and sauté for 1–2 minutes until fragrant.
    • Pour in cream. Slowly whisk in heavy cream and bring to a gentle simmer.
    • Add Parmesan. Stir in Parmesan cheese a little at a time, whisking until smooth and creamy.
    • Season. Add salt and black pepper to taste.
    • Combine. Toss the cooked fettuccine in the sauce until evenly coated.
    • Serve. Garnish with parsley and extra Parmesan.
    Rich & Creamy Alfredo Pasta Recipe for Family Dinners

    💡 Tips for Success

    • Grate your own Parmesan for the smoothest, creamiest sauce. Pre-shredded cheese won’t melt as well.
    • Don’t boil the sauce—keep it at a gentle simmer to avoid separation.
    • Cook pasta al dente so it doesn’t get mushy once tossed with the sauce.
    • Serve immediately, as Alfredo thickens as it cools.


      Note: For more informations on nutrition, visit the website: nutrition.gov
  • Eggplant Lasagna Recipe: A Healthy Twist on a Classic

    Eggplant Lasagna Recipe: A Healthy Twist on a Classic

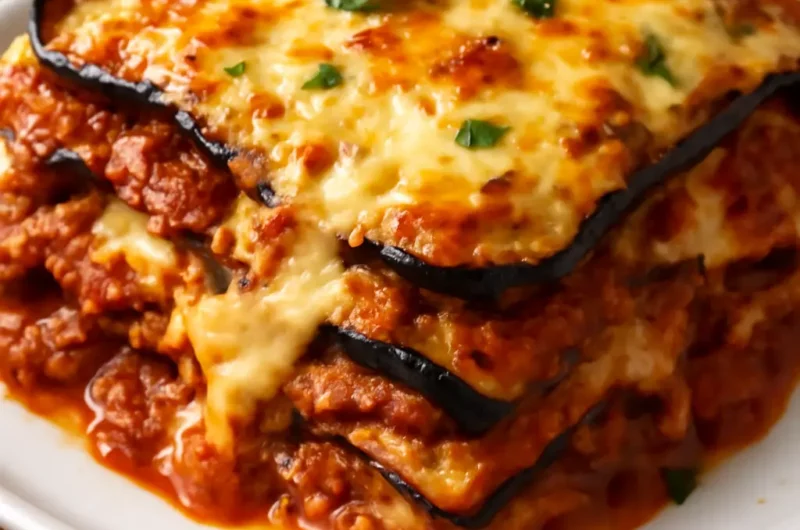
    If you’re craving all the rich, cheesy comfort of lasagna but want something a little lighter and healthier, this eggplant lasagna recipe is the perfect answer. Instead of heavy pasta sheets, tender slices of roasted eggplant are layered with a hearty tomato sauce, creamy ricotta, mozzarella, and Parmesan, creating a dish that feels indulgent yet nourishing at the same time.

    Eggplant makes a fantastic base for lasagna—it’s naturally hearty, slightly smoky when roasted, and provides a delicious texture that pairs beautifully with gooey cheese and tangy marinara sauce. The best part is that this version cuts down on carbs without cutting out any of the classic flavor. It’s the kind of meal that pleases both vegetarians and meat-lovers alike, making it a versatile dish for family dinners, meal prep, or even a special occasion spread.

    What sets this eggplant lasagna apart is its balance of comfort and nutrition. By swapping out traditional pasta, you’re loading up on extra veggies without losing that cozy lasagna experience we all love. Each forkful delivers a perfect bite of roasted eggplant layered with creamy ricotta, melted mozzarella, and rich tomato sauce. It’s hearty enough to stand on its own but also pairs beautifully with a fresh side salad or garlic bread.

    Whether you’re looking for a meatless Monday dinner, a healthier twist on a classic, or simply a new way to enjoy eggplant, this recipe has you covered. With just a handful of simple ingredients and easy steps, you can bring this wholesome, flavorful dish to your table in under an hour.

    Easy Eggplant Lasagna Recipe

    Recipe by Cindy
    0.0 from 0 votes
    Servings

    6

    servings
    Prep time

    20

    minutes
    Cooking time

    40

    minutes

    Ingredients

    • 2 large eggplants, sliced into ¼-inch rounds

    • 2 tbsp olive oil

    • Salt & pepper, to taste

    • 2 cups marinara sauce

    • 1 ½ cups ricotta cheese

    • 1 large egg

    • 2 cups shredded mozzarella cheese

    • ½ cup grated Parmesan cheese

    • 2 cloves garlic, minced

    • 1 tsp dried oregano

    • Fresh basil, for garnish

    Directions

    • Preheat oven to 400°F (200°C). Arrange eggplant slices on a baking sheet, brush with olive oil, and season with salt and pepper. Roast for 15–20 minutes until tender.
    • In a bowl, mix ricotta, egg, garlic, oregano, salt, and pepper until creamy.
    • Spread a thin layer of marinara sauce on the bottom of a 9×13 baking dish. Layer with roasted eggplant, ricotta mixture, mozzarella, and more sauce. Repeat layers.
    • Finish with mozzarella and Parmesan on top.
    • Bake uncovered for 25–30 minutes until golden and bubbly.
    • Garnish with fresh basil before serving.
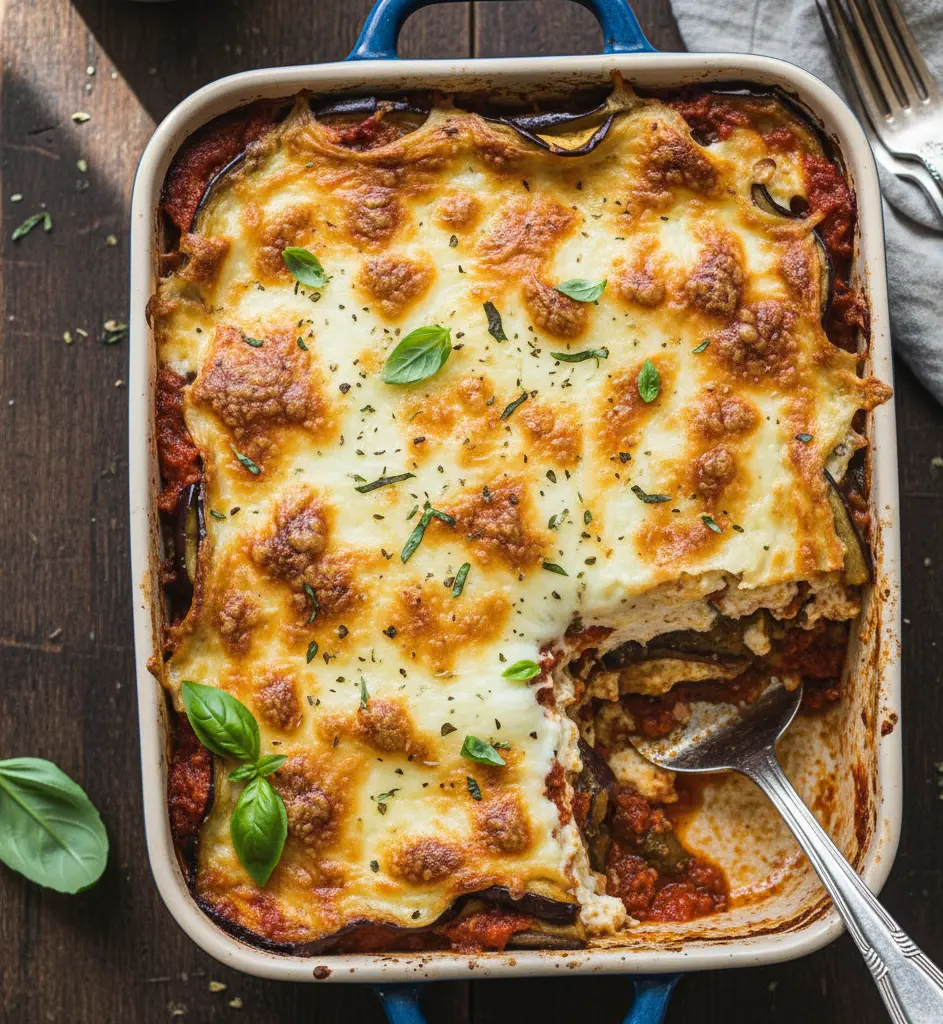
    Easy Eggplant Lasagna Recipe – Flavorful and Hearty
    Easy Eggplant Lasagna Recipe

    Tips for Success

    • Salt the eggplant before roasting to draw out excess moisture and prevent sogginess.
    • Use sturdy slices (not paper thin) so they hold up to layering.
    • Let it rest 10 minutes after baking—this makes slicing much easier and keeps layers intact.
    • Try variations: add sautéed spinach, mushrooms, or even ground turkey for a protein boost.


      Note: For more informations on nutrition, visit the website: nutrition.gov

  • Classic French Toast Recipe: Easy, and Delicious

    Classic French Toast Recipe: Easy, and Delicious

    There’s something timeless and comforting about waking up to the smell of a classic French toast recipe sizzling on the griddle. Soft slices of bread soaked in a rich custard of eggs, milk, and vanilla, then pan-fried to golden perfection, it’s a dish that instantly turns an ordinary morning into something special. French toast is one of those breakfast staples that feels indulgent, yet it’s surprisingly easy to prepare with ingredients you probably already have in your kitchen.

    What makes this recipe so special is its balance of flavor and texture. The bread develops a beautifully crisp, golden-brown crust while staying pillowy and tender inside. A touch of cinnamon and vanilla adds warmth and sweetness, creating that irresistible aroma that fills your kitchen and gets everyone to the table fast.

    The beauty of this French toast recipe lies in its versatility. You can keep it classic with just a dusting of powdered sugar and a drizzle of maple syrup, or elevate it with fresh berries, whipped cream, nut butter, or even a sprinkle of chocolate shavings for a more decadent experience. It’s also perfect for using up day-old bread, giving it a delicious second life.

    Whether you’re hosting a weekend brunch, preparing a cozy family breakfast, or treating yourself on a quiet morning, this dish delivers every time. Quick to whip up, endlessly customizable, and guaranteed to bring smiles, this classic French toast recipe is one you’ll return to again and again. It’s the perfect way to start your day on a warm and satisfying note.

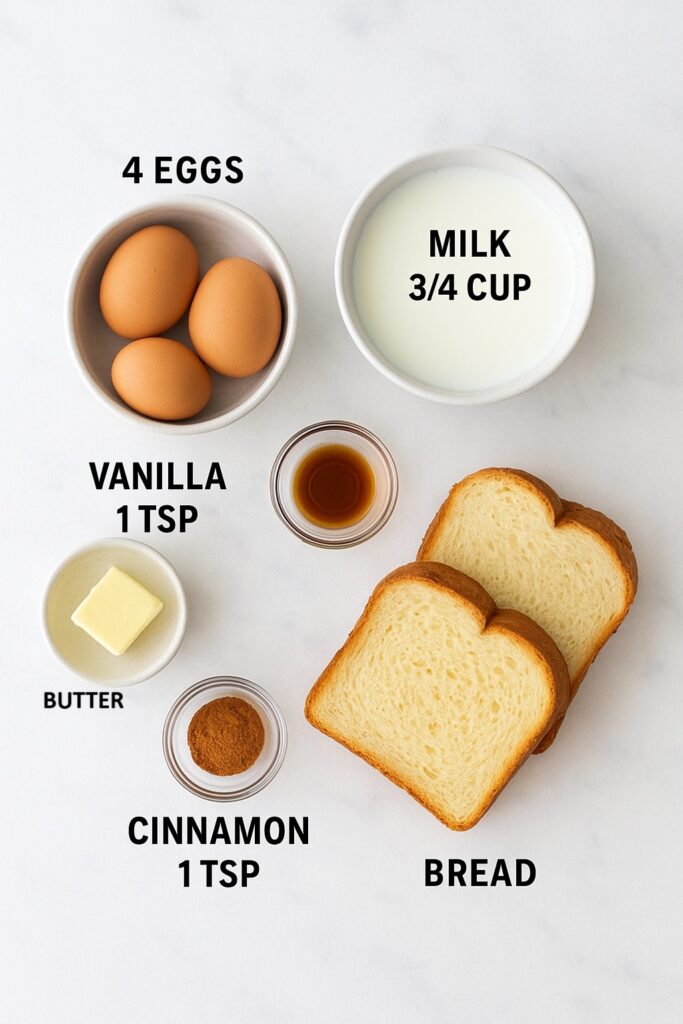
    French toast ingredients

    Best Classic French Toast Recipe for Weekend Brunch

    Recipe by Cindy
    0.0 from 0 votes
    Difficulty: Easy
    Servings

    4

    servings
    Prep time

    10

    minutes
    Cooking time

    10

    minutes

    Ingredients

    • 4 large eggs

    • ¾ cup milk (whole or 2%)

    • 1 tsp vanilla extract

    • 1 tsp ground cinnamon

    • 1 tbsp granulated sugar (optional)

    • Pinch of salt

    • 8 slices thick bread (brioche or challah preferred)

    • Butter, for frying

    • Maple syrup, powdered sugar, or fresh fruit for serving

    Directions

    • In a medium bowl, whisk together eggs, milk, vanilla, cinnamon, sugar, and salt until well blended.
    • Preheat a skillet or griddle over medium heat and lightly butter the surface.
    • Dip each slice of bread into the egg mixture, coating both sides well but not letting it get soggy.
    • Place bread slices onto the skillet and cook until golden brown, 2–3 minutes per side.
    • Serve warm with maple syrup, powdered sugar, or your favorite toppings.
    Classic French toast recipe

    Tips for Success

    • Use day-old bread: Slightly stale bread absorbs the custard without falling apart.
    • Thicker slices = better texture: Brioche, challah, or Texas toast make the richest French toast.
    • Cook low and slow: Medium heat ensures the center cooks through without burning the outside.
    • Customize the flavor: Add nutmeg, swap milk for cream, or top with seasonal fruit for variety.


      Note: For more informations on nutrition, visit the website: nutrition.gov
  • Chocolate Chip Cookie Recipe: Soft, Chewy, and Easy

    Chocolate Chip Cookie Recipe: Soft, Chewy, and Easy

    Chocolate Chip Cookie Recipe – No Chill, Perfect Every Time
    Chocolate Chip Cookie Recipe

    If you’re searching for that perfect chocolate chip cookie recipe, one that’s tender in the center, slightly crisp at the edges, and filled with gooey chocolate in every bite, you’re in the right place. These cookies are the kind you’ll find yourself reaching for before the first cup of coffee, sneaking one warm straight from the oven, or baking multiple batches just because.

    What sets this version apart is its simplicity and reliability. No chilling required, no complicated ingredients, just basic pantry staples like butter, sugars, eggs, flour, and plenty of chocolate chips. Yet the result is anything but basic. The cookies bake into beautiful golden rounds that are crispy on the outside, chewy in the middle, and molten-chocolate heaven all the way through.

    I love this recipe because it’s foolproof. It’s easy enough to make on a weekday evening when you need a quick dessert fix, but delicious enough to serve guests and have them asking for the recipe. The aroma alone, warm sugar, melting chocolate, buttery dough, feels like a warm hug in the kitchen. Top half of them with flaky sea salt for a contrast that’s unexpected, or stir in chopped nuts or oats for a little extra texture.

    Keep a batch in the freezer for emergencies (cookie emergencies are a thing!), and you’ll always have something sweet ready. Whether you’re a seasoned baker or new to the kitchen, this chocolate chip cookie recipe delivers that classic, nostalgic taste you crave, and it’s about to become your go-to too.

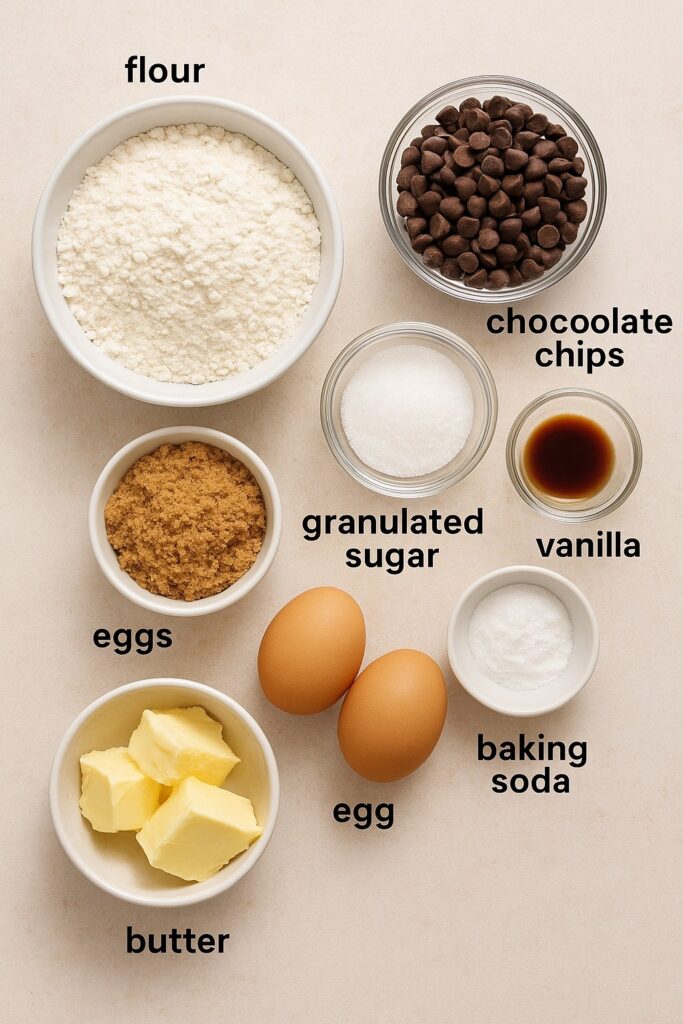
    Chocolate Chip Cookie ingredients

    Chocolate Chip Cookie Recipe – No Chill, Perfect Every Time

    Recipe by Cindy
    0.0 from 0 votes
    Servings

    24

    cookies
    Prep time

    10

    minutes
    Cooking time

    10

    minutes

    Ingredients

    • 1 cup (227g) unsalted butter, softened

    • ¾ cup (150g) packed light brown sugar

    • ½ cup (100g) granulated sugar

    • 2 large eggs, at room temperature

    • 2 tsp vanilla extract

    • 2½ cups (312g) all-purpose flour, spooned & leveled

    • 1 tsp baking soda

    • ½ tsp baking powder

    • ½ tsp salt

    • 2 cups (350g) semisweet chocolate chips or chunks

    Directions

    • Preheat oven to 375°F (190°C). Line baking sheets with parchment paper.
    • In a large bowl, cream softened butter with brown and granulated sugar until light and fluffy (~3 minutes).
    • Beat in eggs one at a time, then stir in vanilla until combined.
    • In a medium bowl, whisk together flour, baking soda, baking powder, and salt.
    • Gradually add dry ingredients to the wet, mixing just until combined.
    • Fold in the chocolate chips.
    • Scoop dough by rounded tablespoons onto prepared sheets, spacing 2 inches apart.
    • Bake 9–11 minutes, until edges are golden but centers are still soft. Don’t overbake!
    • Cool on the sheet for 5 minutes, then transfer cookies to a wire rack.

    Tips for Cookie Success

    • Measure flour properly—spoon it into your measuring cup and level off to avoid dry, cakey cookies.
    • Don’t skip the mix stages—creaming butter and sugar traps air for lift, and gentle mixing later keeps cookies tender.
    • Watch closely near the end—cookies look slightly underdone when exiting the oven, but will firm up while cooling.
    • Customize confidently—add chopped nuts, use chunked chocolate for pockets of melty goodness, or sprinkle flaky sea salt on top mid-bake for an extra flavor pop.


      Note: For more informations on nutrition, visit the website: nutrition.gov